
How to Photograph Artwork with a Phone or Camera

The most important factors to keep in mind when photographing artwork are the following:
Keeping the camera parallel to the artwork
Having consistent lighting across the artwork
It is often best to use a tripod to stabilize the camera and shoot in RAW to be able to adjust the white balance when post processing. I will show three ways to photograph artwork:
Using a mirrorless camera (Fujifilm X-Pro2 with Fujifilm 35mm f/2 lens)
Using an iPhone X and ProCam to photograph in RAW
Using an iPhone and the Apple Camera App
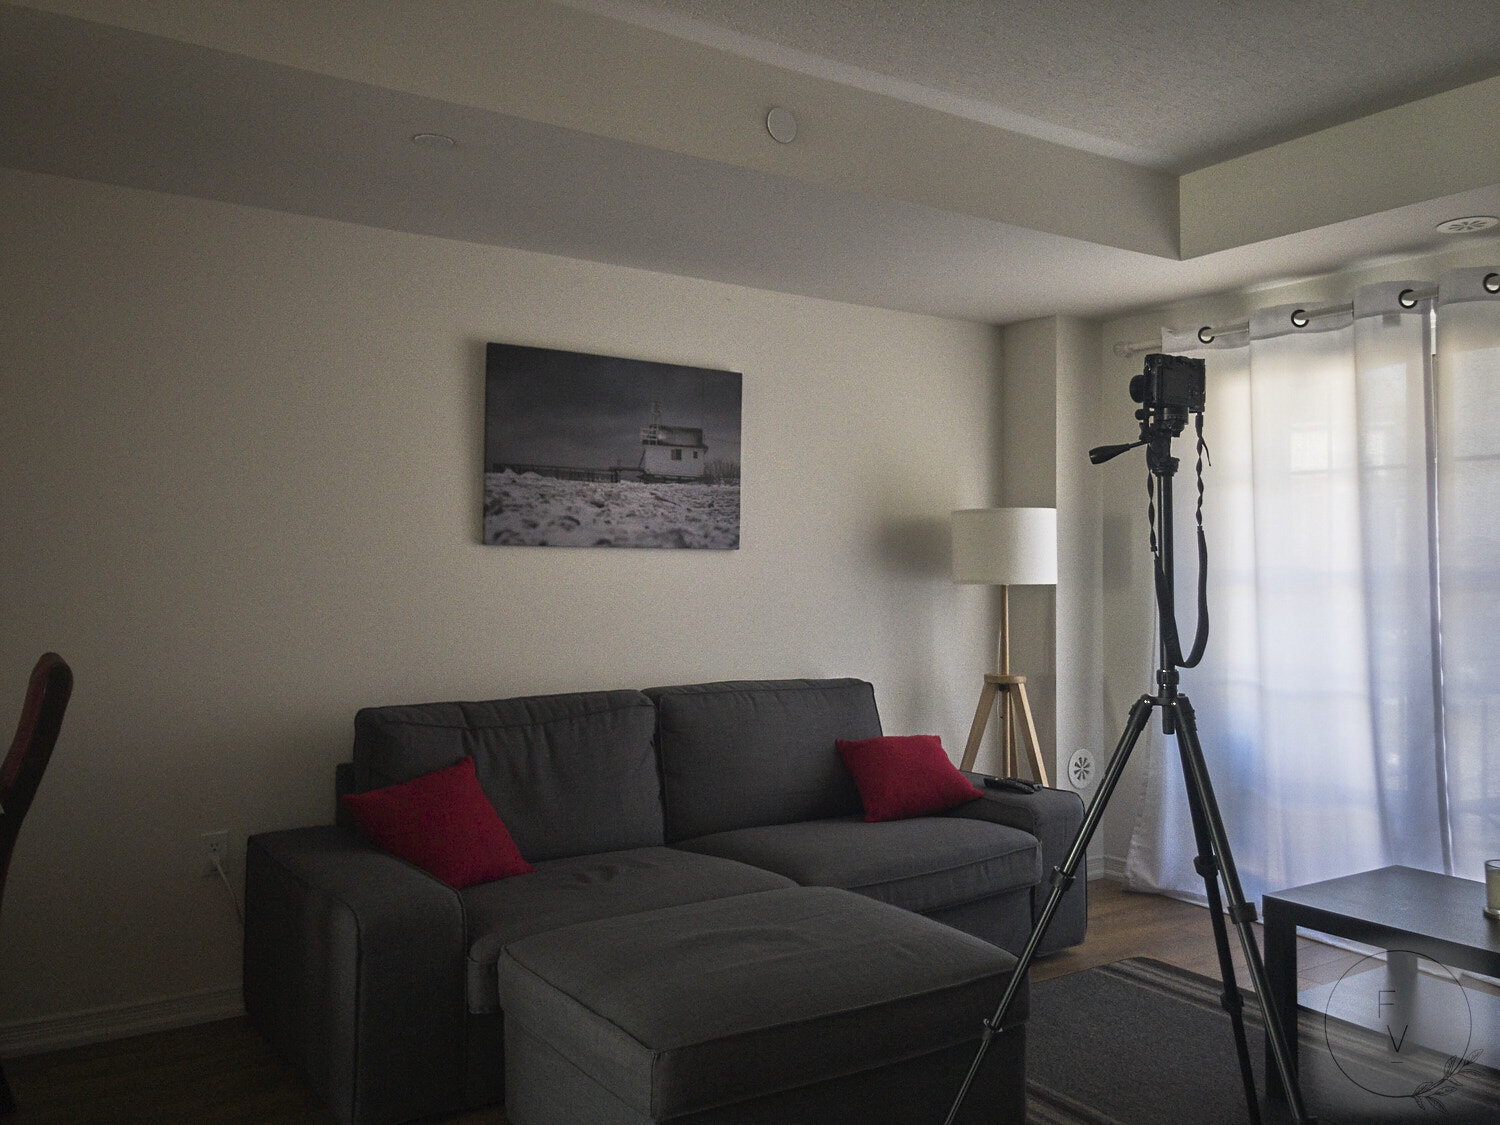
Setting up the scene
This approach will be similar if using any mirrorless camera, Digital SLR or even the camera on your phone.

The setup should look similar to the setup above
You can attempt to hand hold the camera or phone but it may be difficult to keep it steady enough to avoid motion blur unless there is a lot of light. For basic use cases, handholding a phone in good light should be sufficient but if you would like to improve the production quality, using a mirrorless camera or digital SLR in good light will help.
Mirrorless Camera
Mirrorless camera on tripod

Try to position the camera on the tripod in a level way with the image sensor parallel to the artwork lined up with the center of the artwork as much as possible.

Leave enough space around the Artwork when framing. Set the lowest ISO and a mid range aperture value for optimum clarity. f/5.6 is one of the sharper apertures on this f/2 lens.

Set the delay timer on your camera so that there is no image shake when you press the shutter.

Press the shutter and wait for the image to be taken

Here is the photo that was taken. I did use the white balance tool on the white area around the artwork to correct the orange tinge that existed. Notice that the upper left of the image is slightly darker than the lower right. We can use gradient brushes in Lightroom, Capture One, Photoshop or your image editor of choice to fix this if it is distracting.
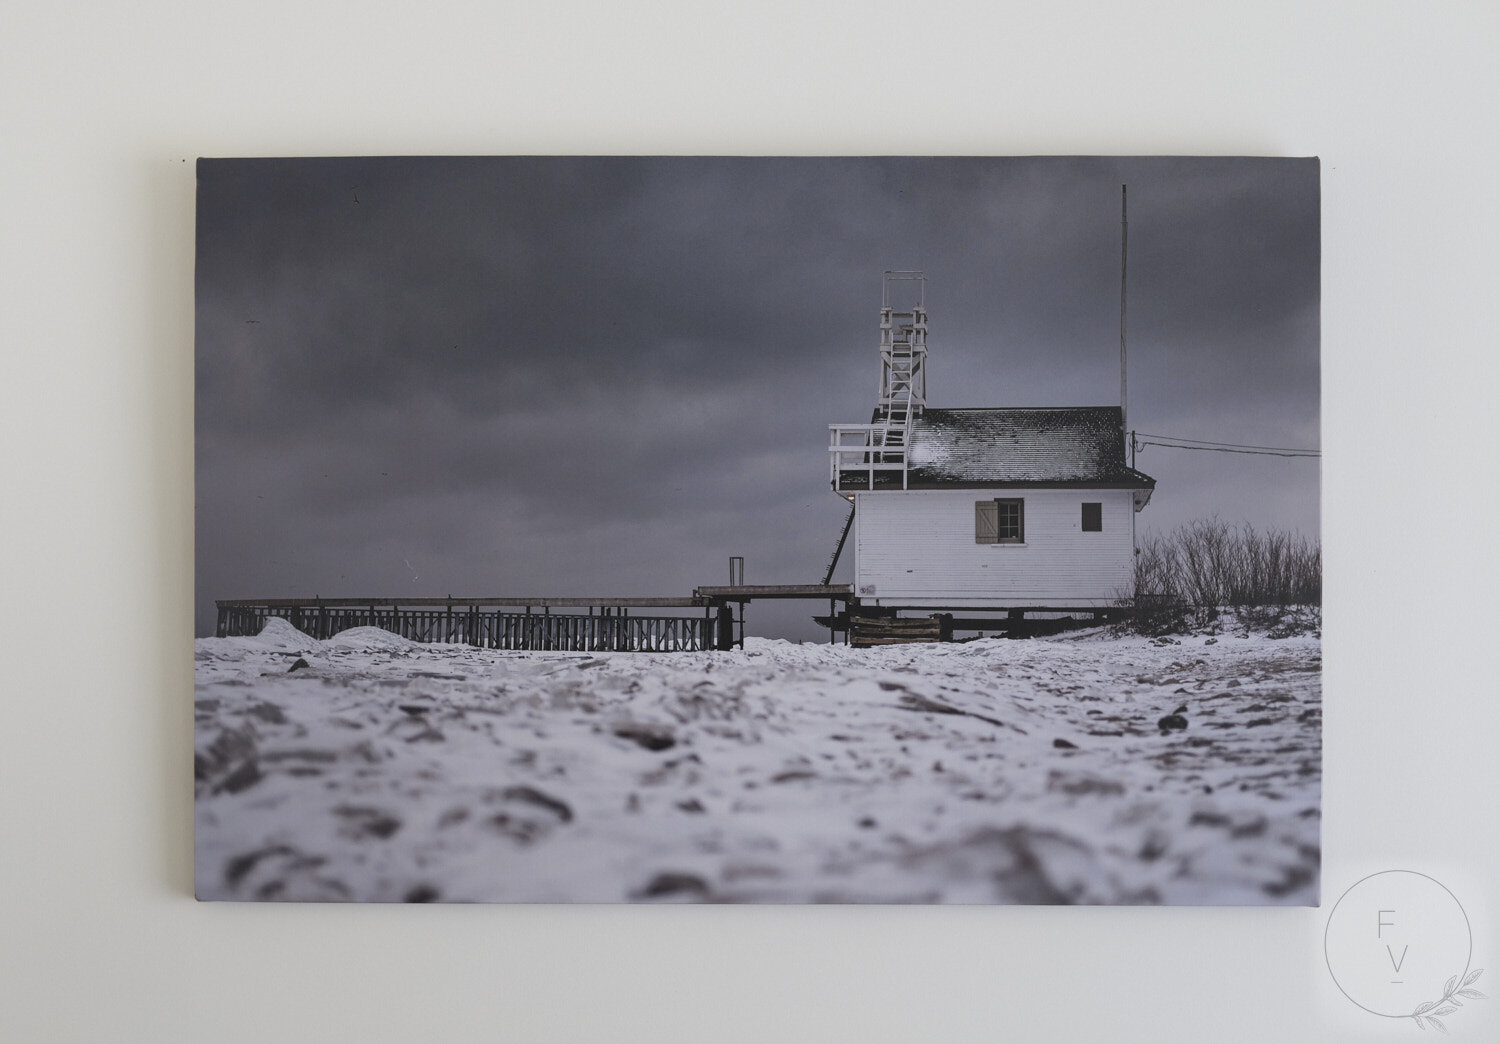
This was corrected using a linear gradient mask on an adjustment layer in Capture One Pro. It still is not perfect but will work for most use cases. You can spent more time refining this as needed. If you prefer to light the Artwork correctly from the beginning, you will need off camera lighting but that is outside the scope of this post.
Mobile Phone
The mobile phone setup will be similar to the mirrorless camera setup. Place it on a tripod or find someway to stabilize the phone while keeping the face of the phone parallel to the artwork. This could be as simple as resting it on top of another tripod or piece of furniture if you do not have a phone holder tripod attachment.

iPhone X on top of Tripod

I used the Telephoto camera in this example to get more compression but you could place the camera closer and use the regular camera. You can change back and forth between the cameras by tapping the 1x and 2x icon as shown above

This is what it would look like with the 1x camera. We would need to move the tripod closer if using this camera.
I did adjust the while balance by tapping the white area around the artwork with the white balance tool. It did not do a bad job considering that this is still a JPEG file. When zooming in at 100%, you do notice quite a bit of compression artifacts but that is the nature of JPEG iPhone photos. Below we take the image in RAW to determine if there is a difference.

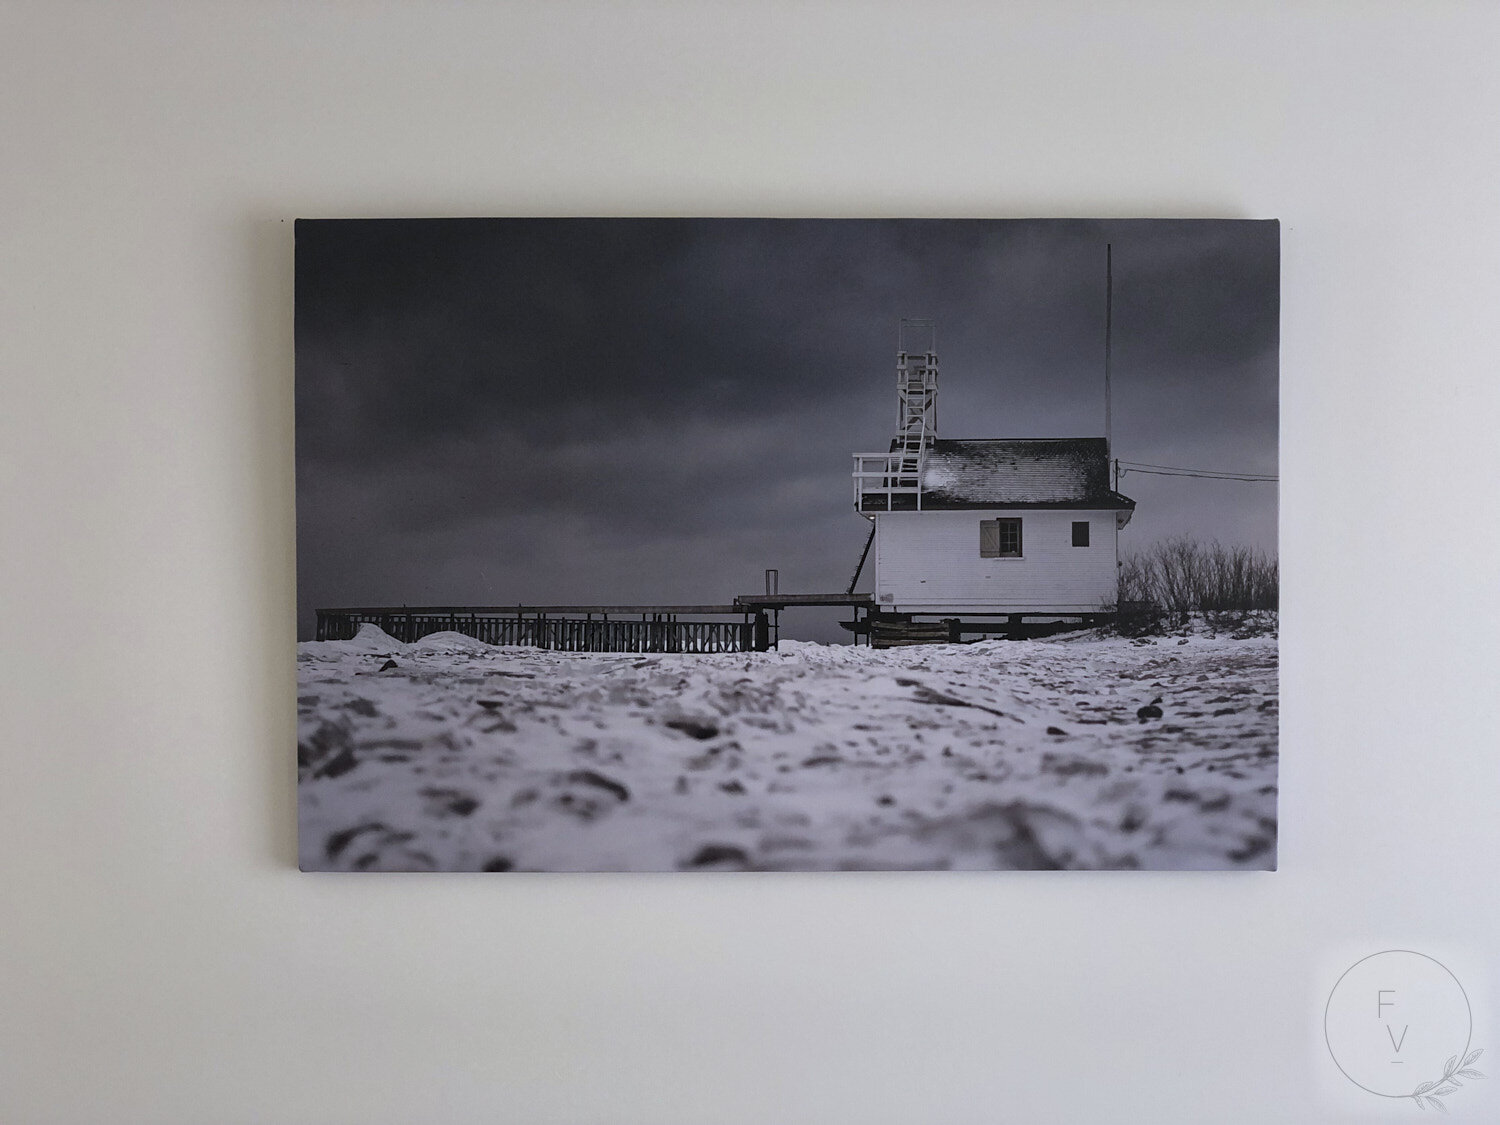
In ProCam, I selected RAW and used the Slow Shutter option to allow a lower ISO to be used which will improve the image quality. Taking a RAW photo will also result in better image quality since the image will not be compressed. If you are posting to Instagram, this will not be noticeable even using the regular iPhone camera App. If there will be large images on website, a pixel peeping viewer might be able to tell the difference.

I had set the shutter speed to 4 seconds. It does not need to be this low, unless you are in very low light conditions. The objective is to keep the ISO as low as possible while maintaining good exposure.

Here is the final image from the iPhone using ProCam.
Hopefully this post was useful in providing various options to photograph Artwork.